> ## Documentation Index
> Fetch the complete documentation index at: https://docs.geekai.co/llms.txt
> Use this file to discover all available pages before exploring further.
# Cherry Studio
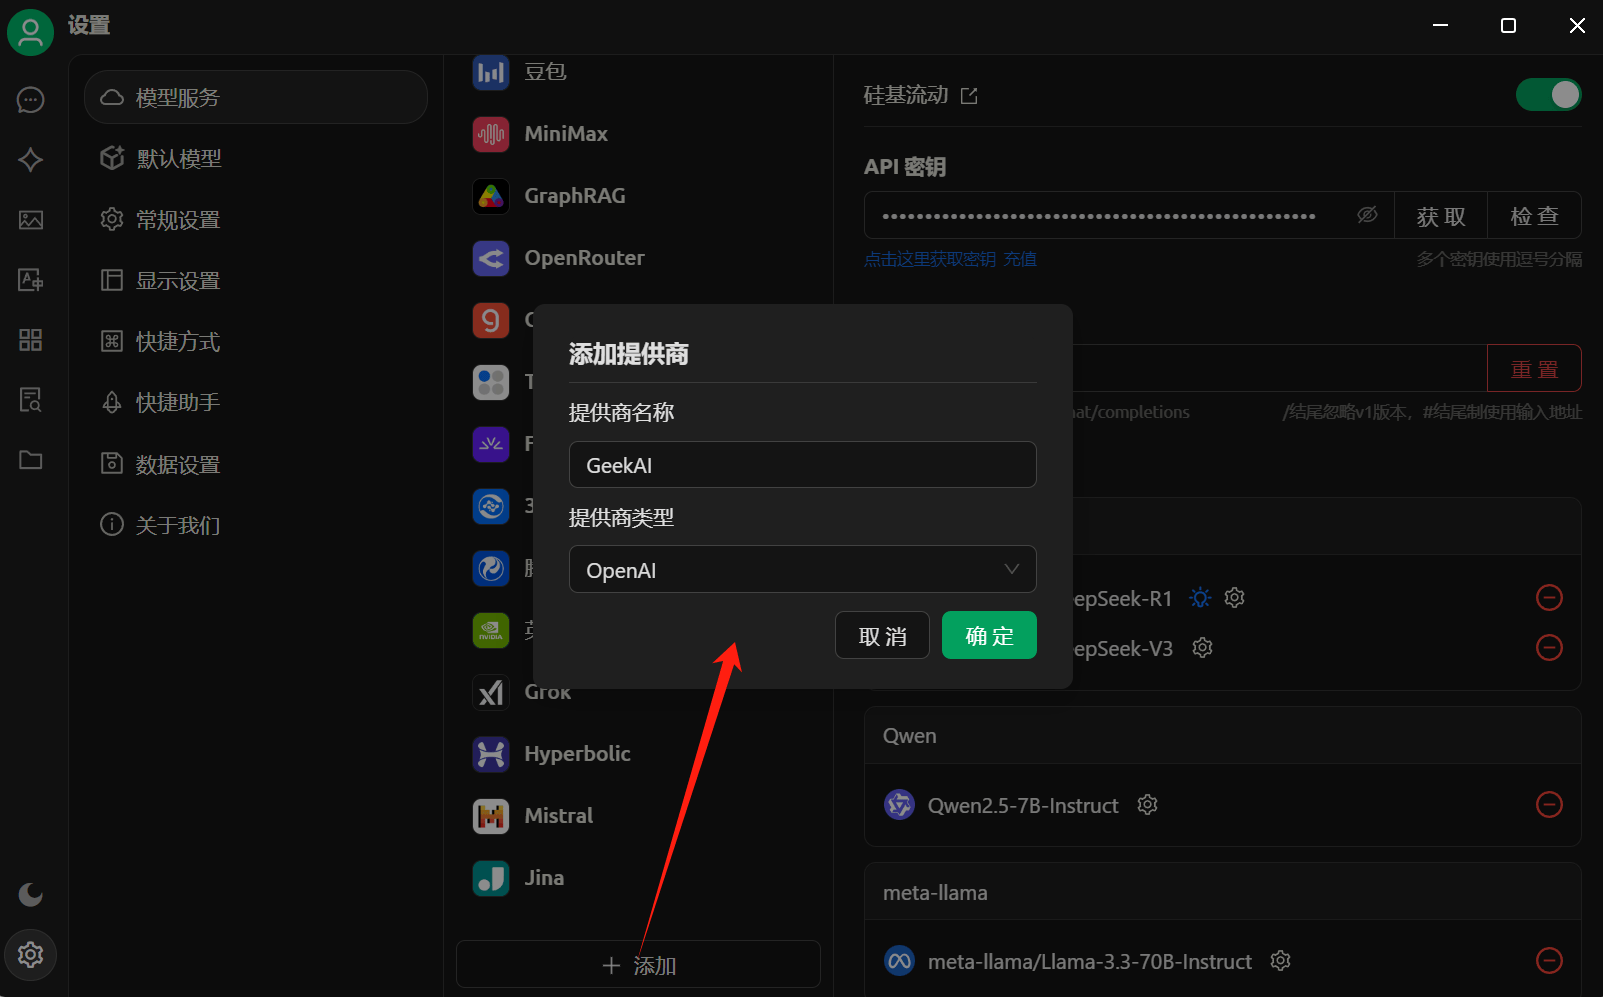
下载安装 [Cherry Studio](https://cherry-ai.com/)后, 打开模型服务设置界面,先创建极客智坊作为模型供应商(注意供应商类型选择 OpenAI,因为极客智坊所有模型 API 均兼容 OpenAI 接口格式,包括 Claude、Gemini):
 然后在模型供应商页面填入极客智坊模型代理 Base URL 和 API\_KEY:
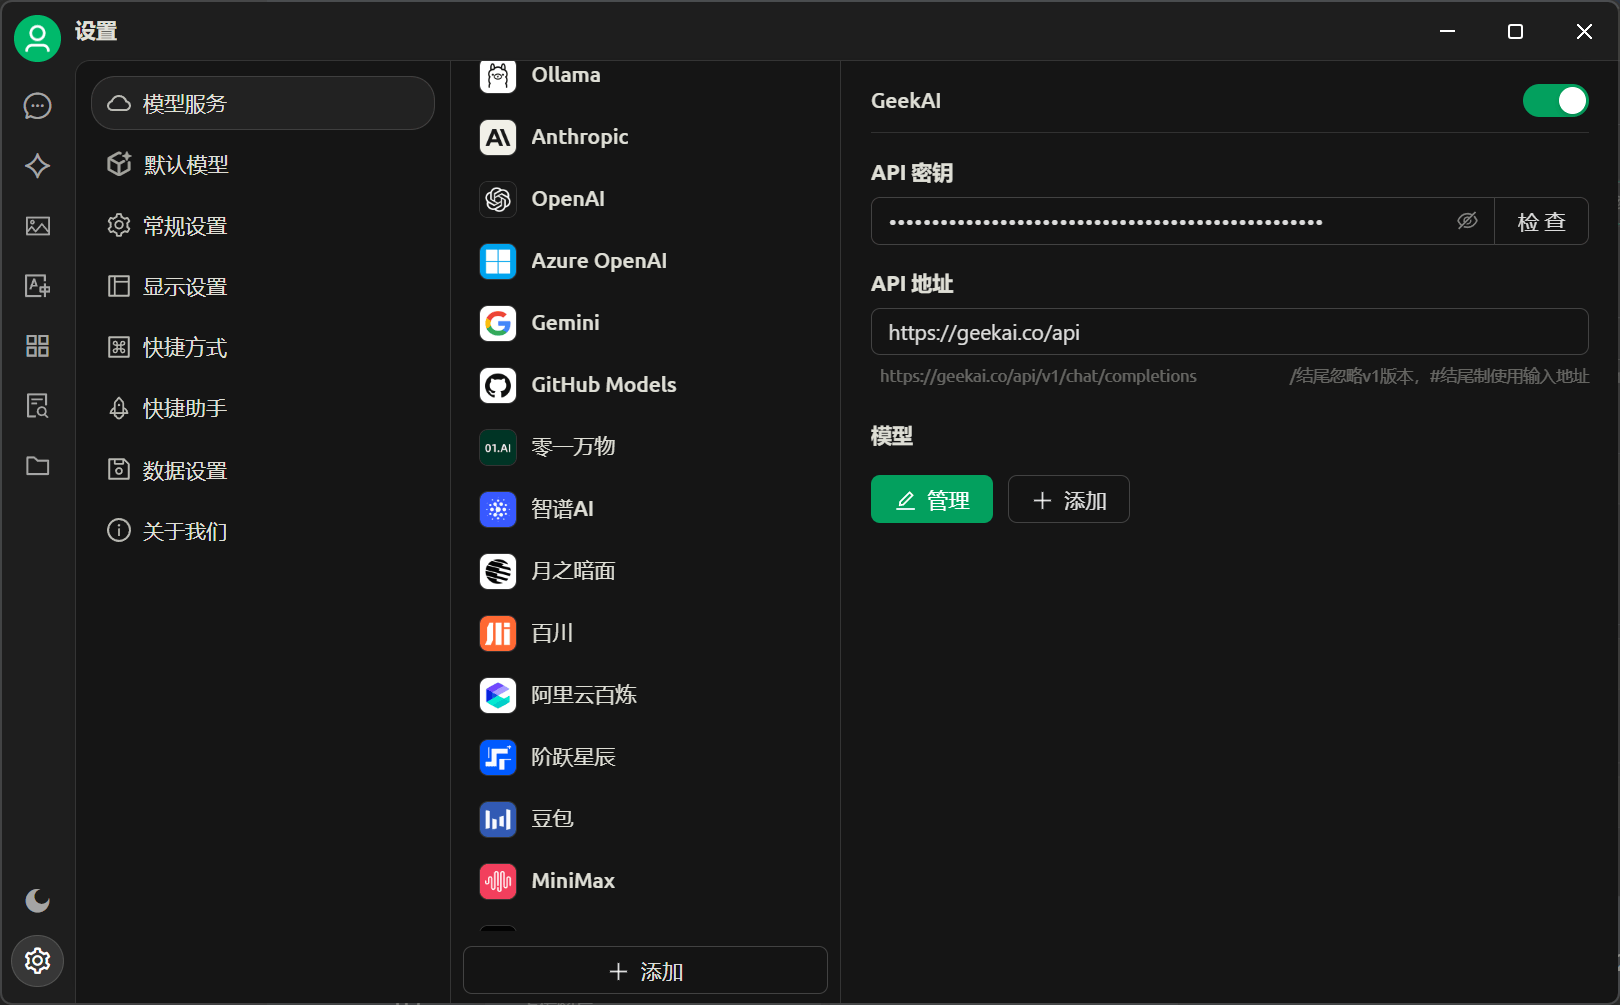 注意:API 地址后面不要带 / 后缀,输入 [https://geekai.co/api](https://geekai.co/api) 或 [https://geekai.dev/api](https://geekai.dev/api) 即可,以确保 API 完整地址是 [https://geekai.co/api/v1/chat/completions](https://geekai.co/api/v1/chat/completions) 或 [https://geekai.dev/api/v1/chat/completions。](https://geekai.dev/api/v1/chat/completions。)
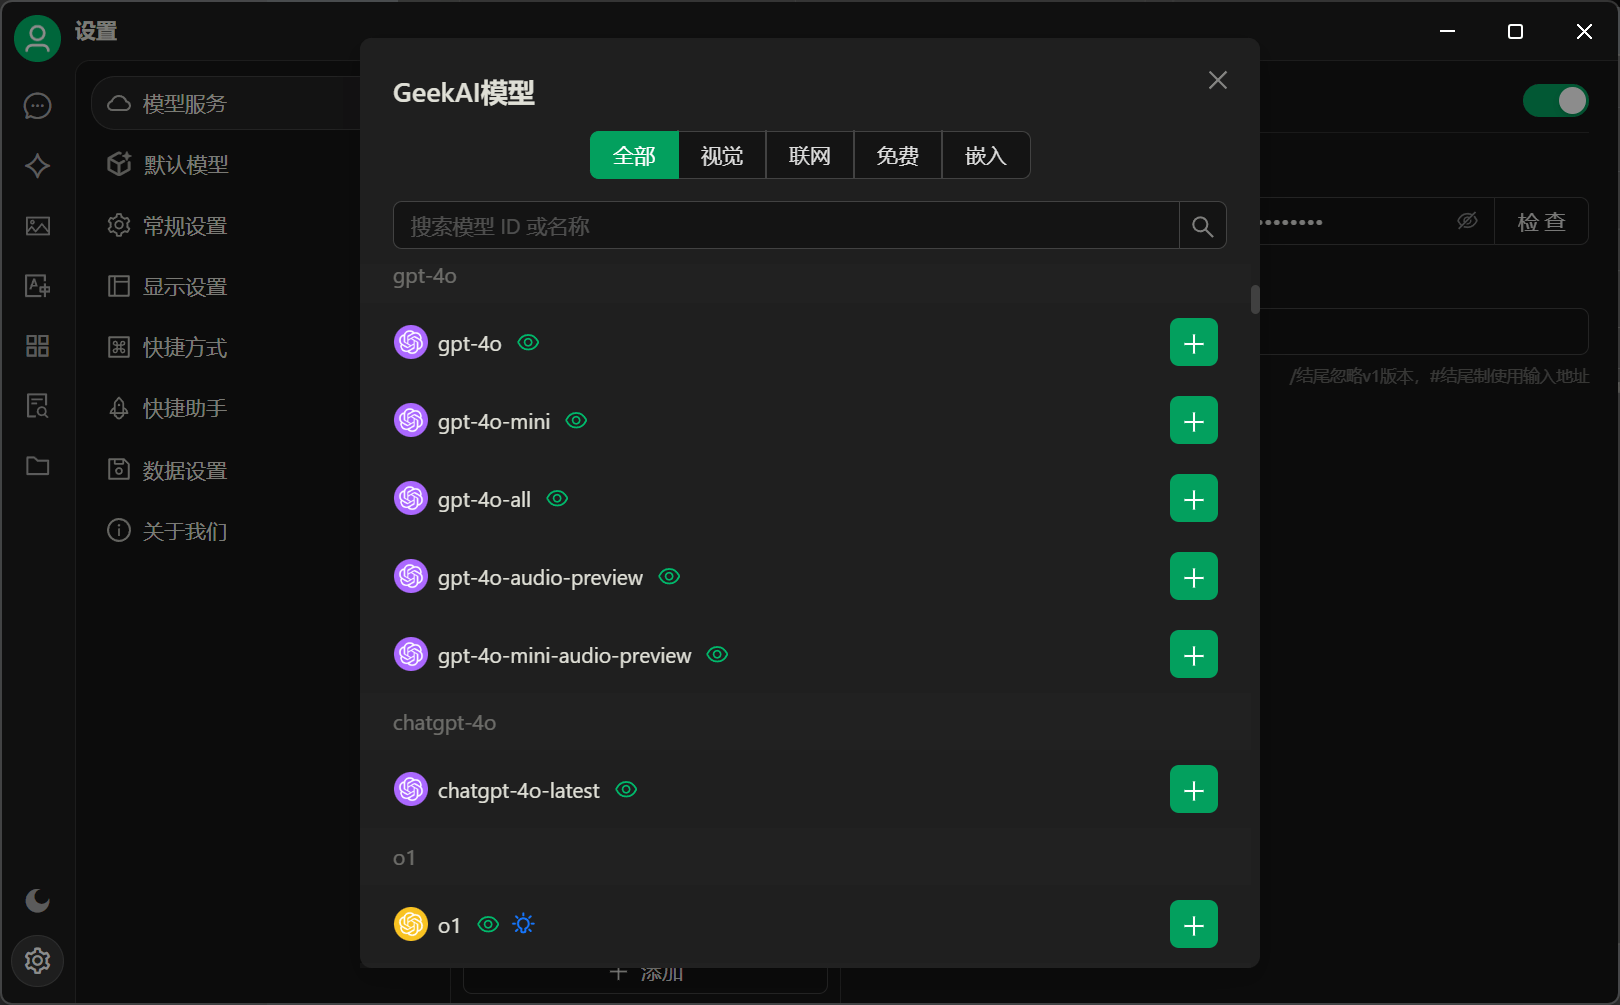
完成以上配置后,还要点击管理按钮进入模型管理页面,在这里,你可以看到极客智坊支持的所有AI模型列表,选择你想要在 Cherry Studio 中使用的模型点击右侧+号按钮添加即可:
注意:API 地址后面不要带 / 后缀,输入 [https://geekai.co/api](https://geekai.co/api) 或 [https://geekai.dev/api](https://geekai.dev/api) 即可,以确保 API 完整地址是 [https://geekai.co/api/v1/chat/completions](https://geekai.co/api/v1/chat/completions) 或 [https://geekai.dev/api/v1/chat/completions。](https://geekai.dev/api/v1/chat/completions。)
完成以上配置后,还要点击管理按钮进入模型管理页面,在这里,你可以看到极客智坊支持的所有AI模型列表,选择你想要在 Cherry Studio 中使用的模型点击右侧+号按钮添加即可:
 添加好AI模型后,关闭模型管理弹窗,就可以看到极客智坊模型供应商页面已经展示刚才添加的所有模型了,点击检查按钮可检查任意模型的有效性:
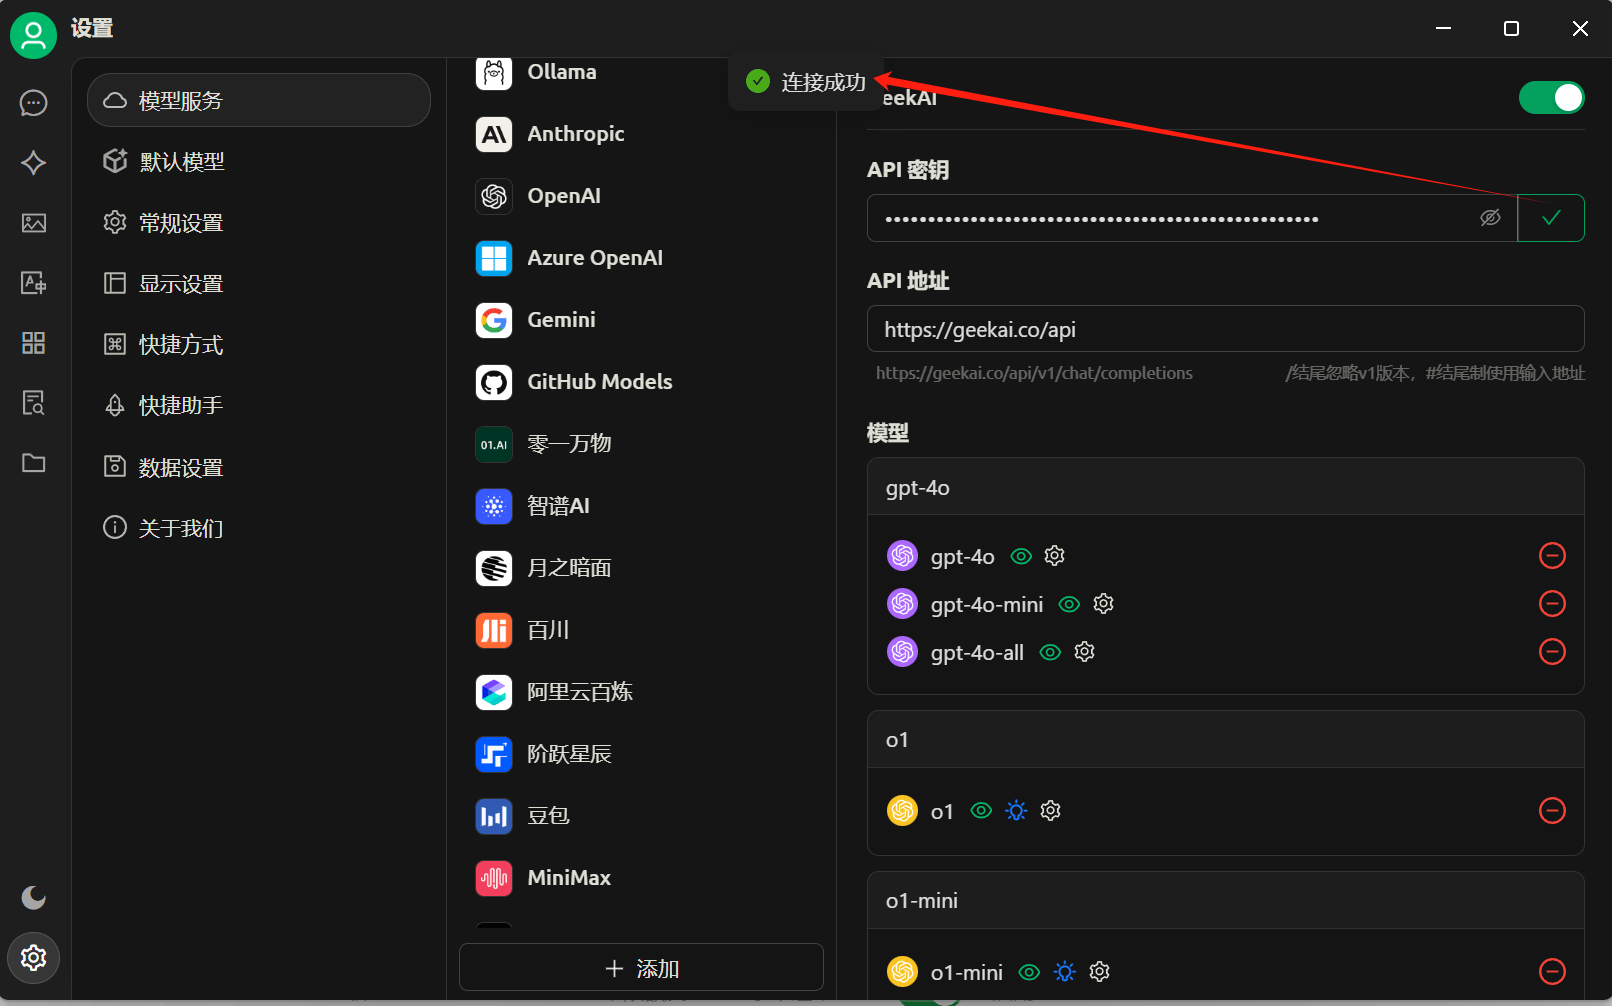 连接成功则表示该模型可用。
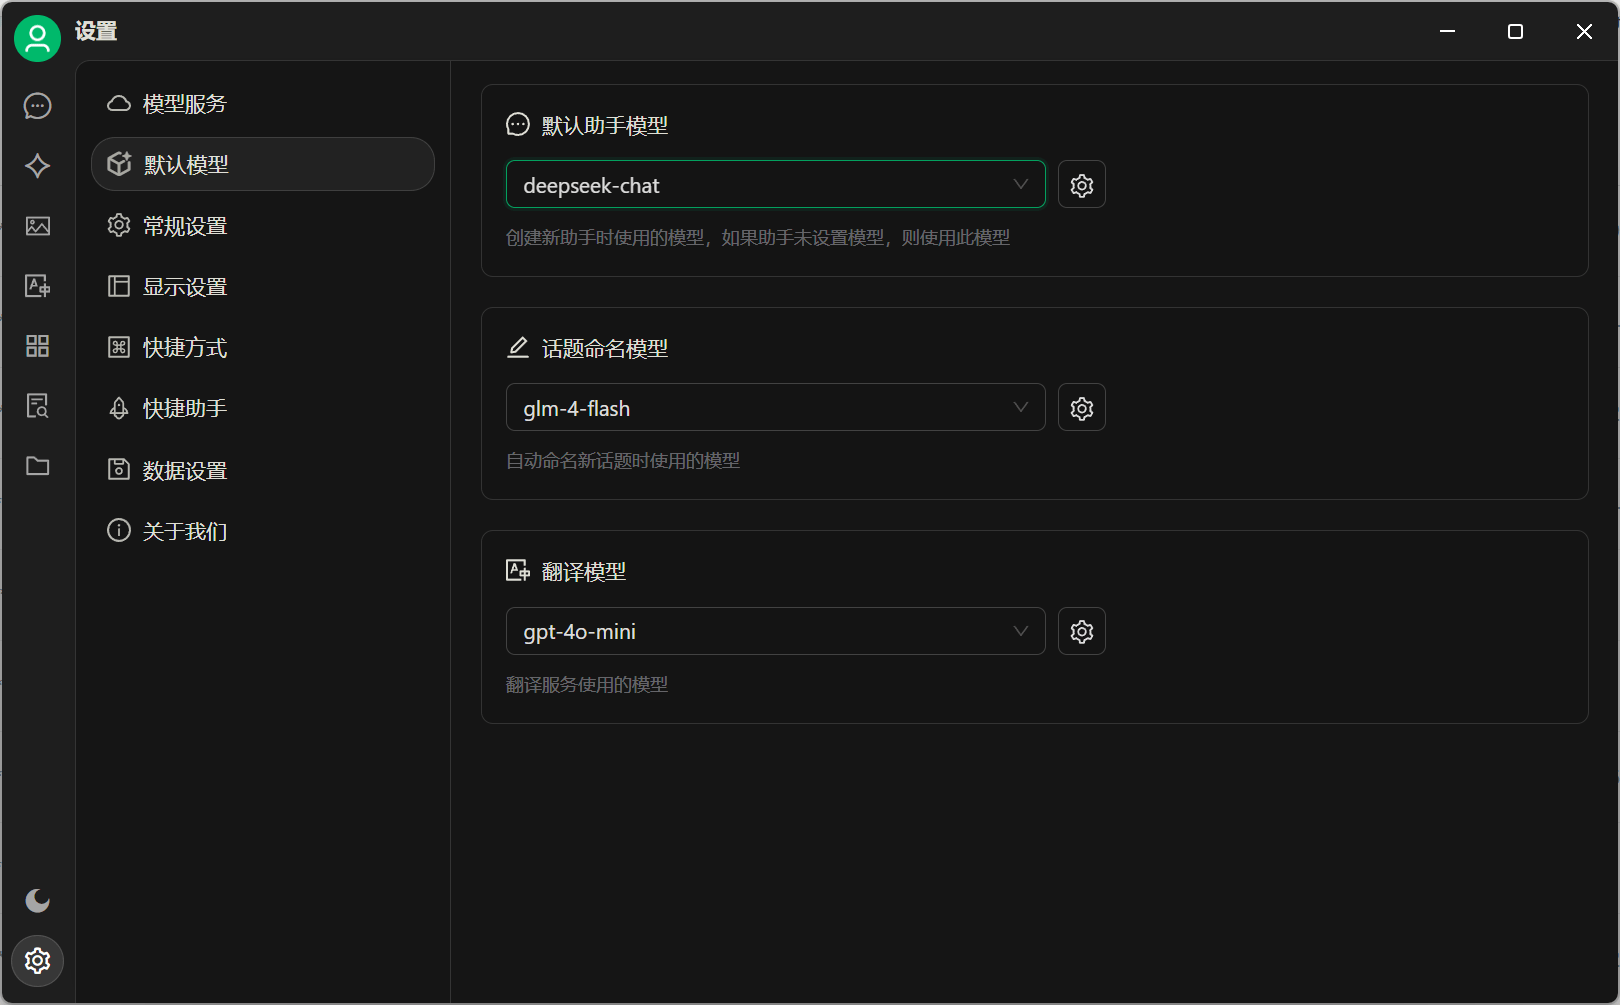
然后你可以进入默认模型配置界面通过极客智坊供应的AI模型配置 Cherry Studio 中不同场景的默认模型:
连接成功则表示该模型可用。
然后你可以进入默认模型配置界面通过极客智坊供应的AI模型配置 Cherry Studio 中不同场景的默认模型:
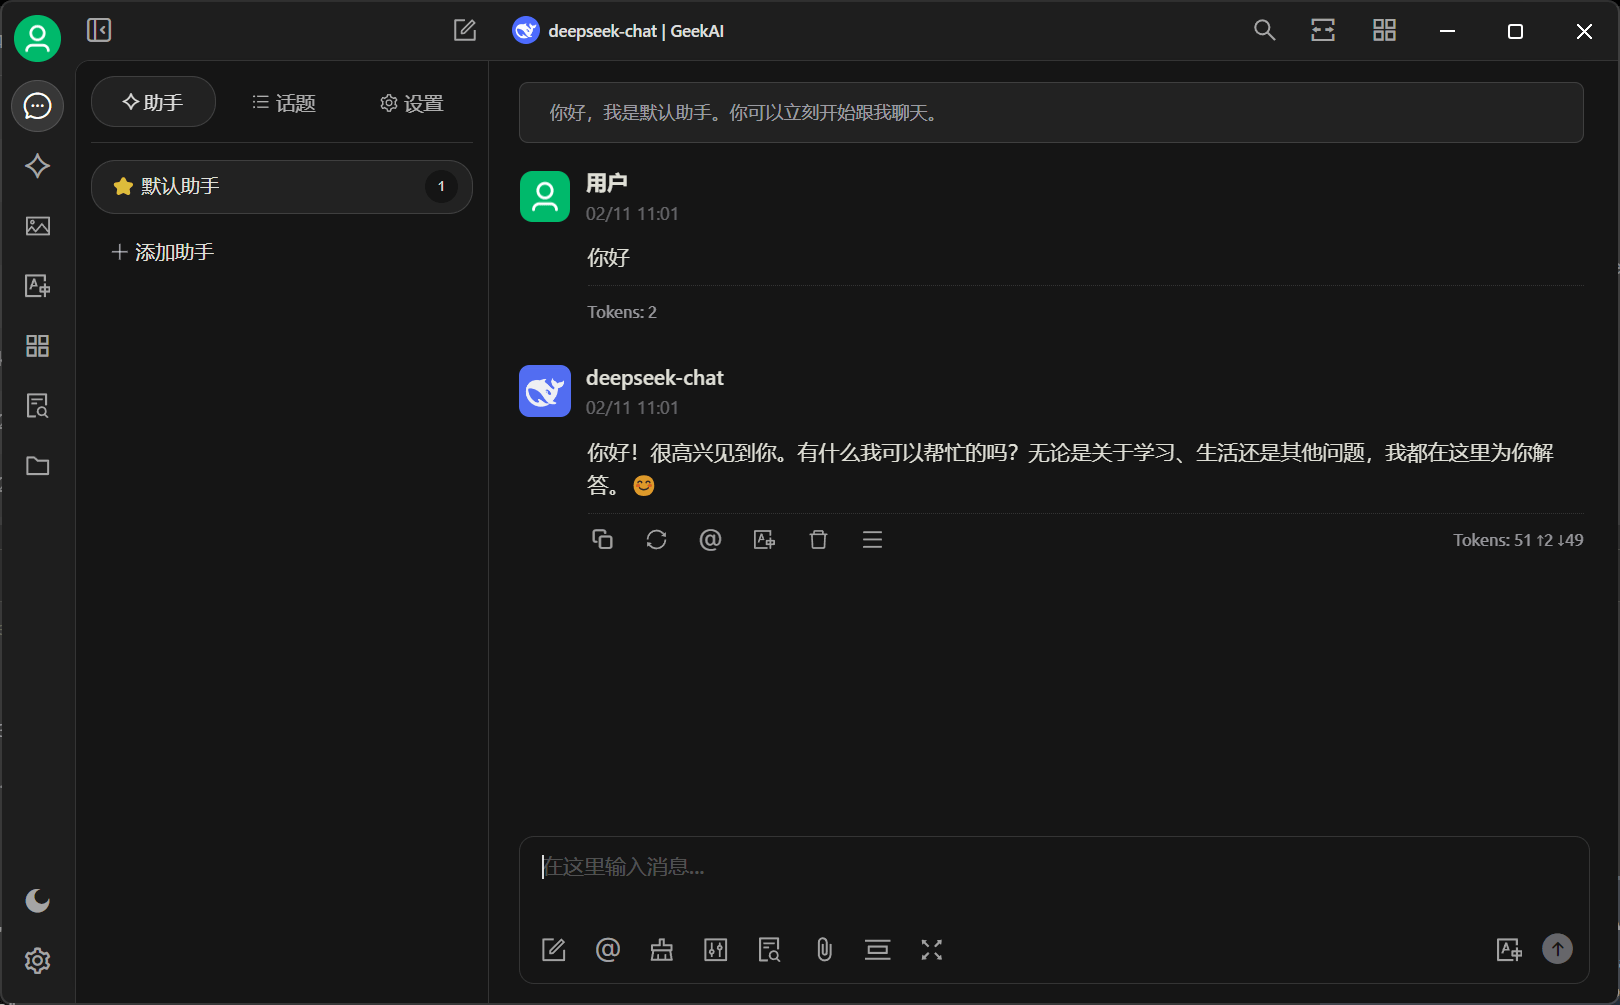
 完成以上配置后,就可以进入 Cherry Studio 的对话界面通过极客智坊代理的 AI 模型进行对话了:
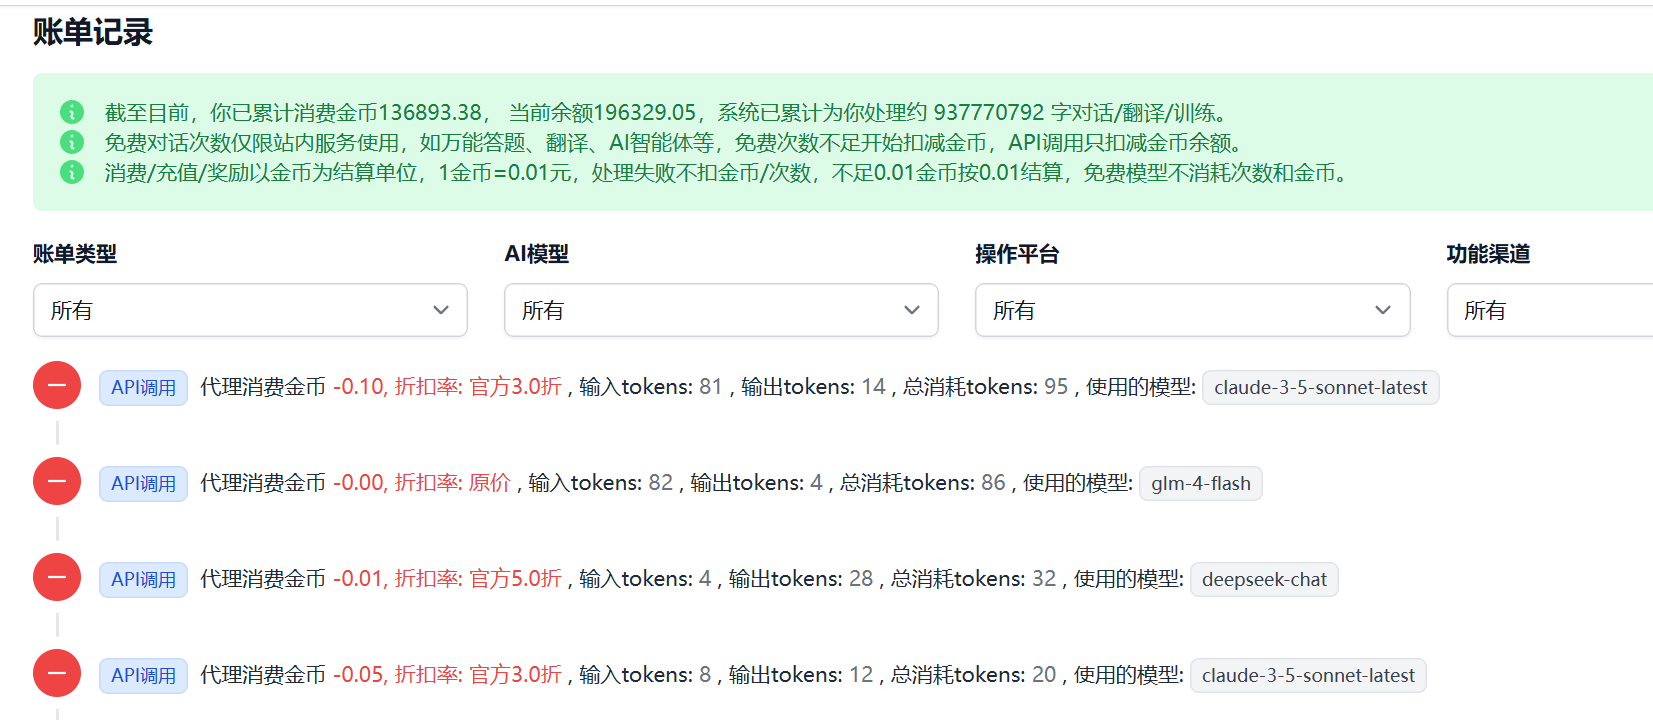
 更多关于 Cherry Studio 的用法,可以参考官方文档。你可以在极客智坊的账单页面查看所有模型的调用费用: