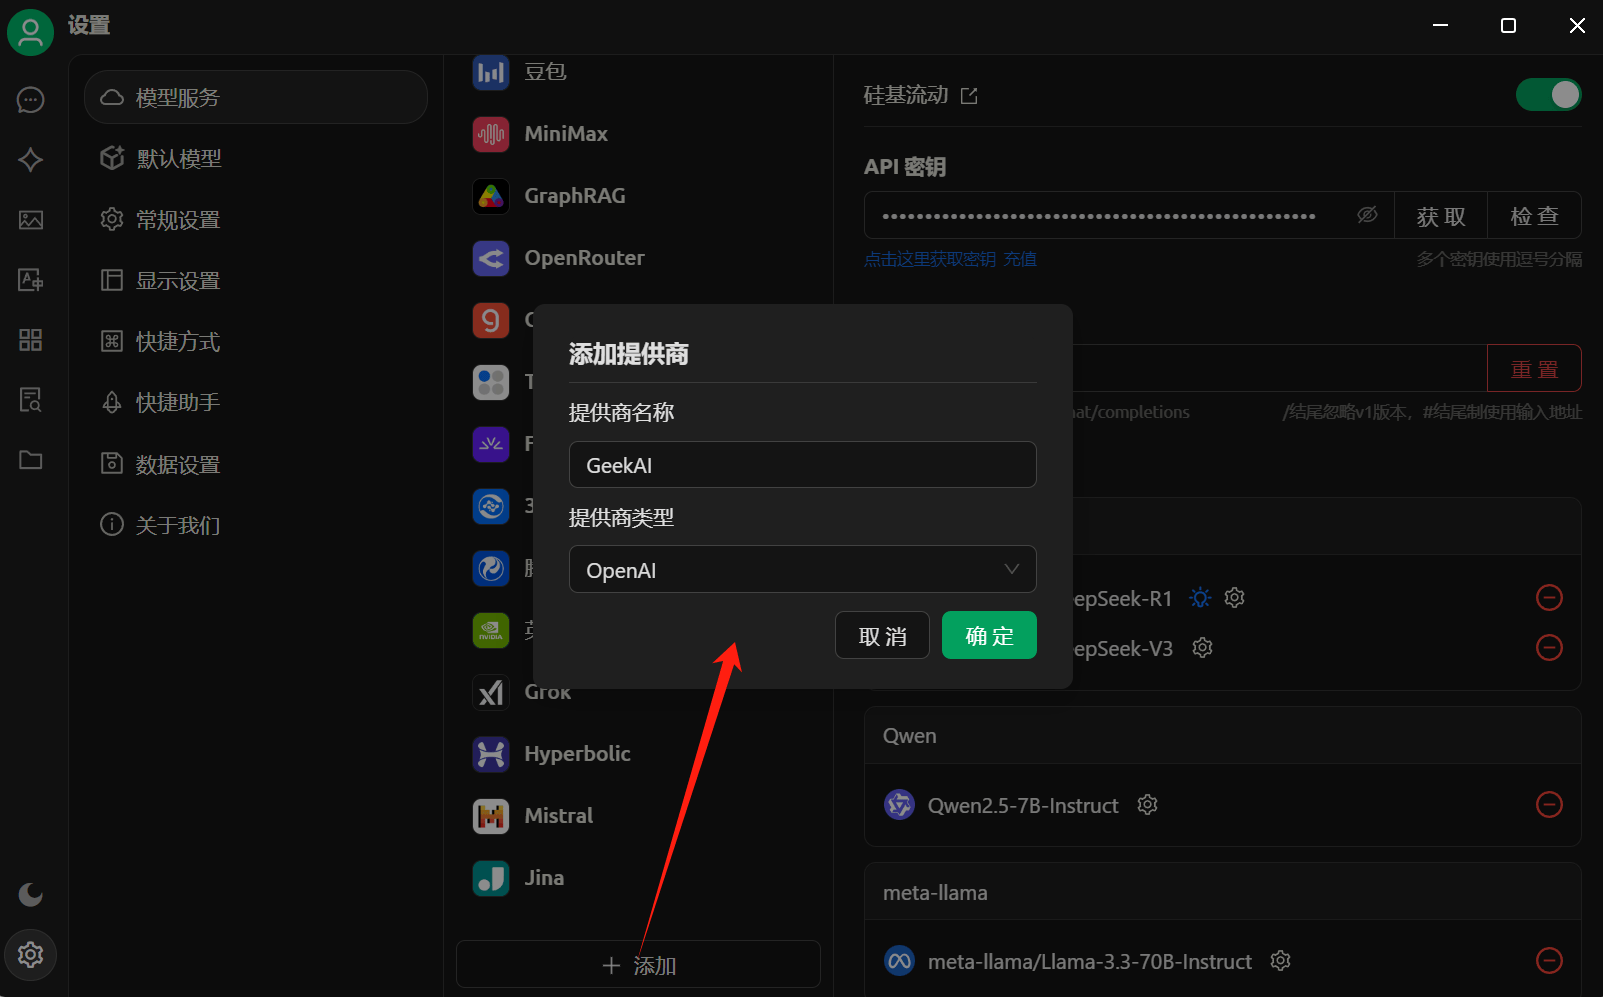
 Then, on the model provider page, fill in the GeekAI model proxy Base URL and API_KEY:
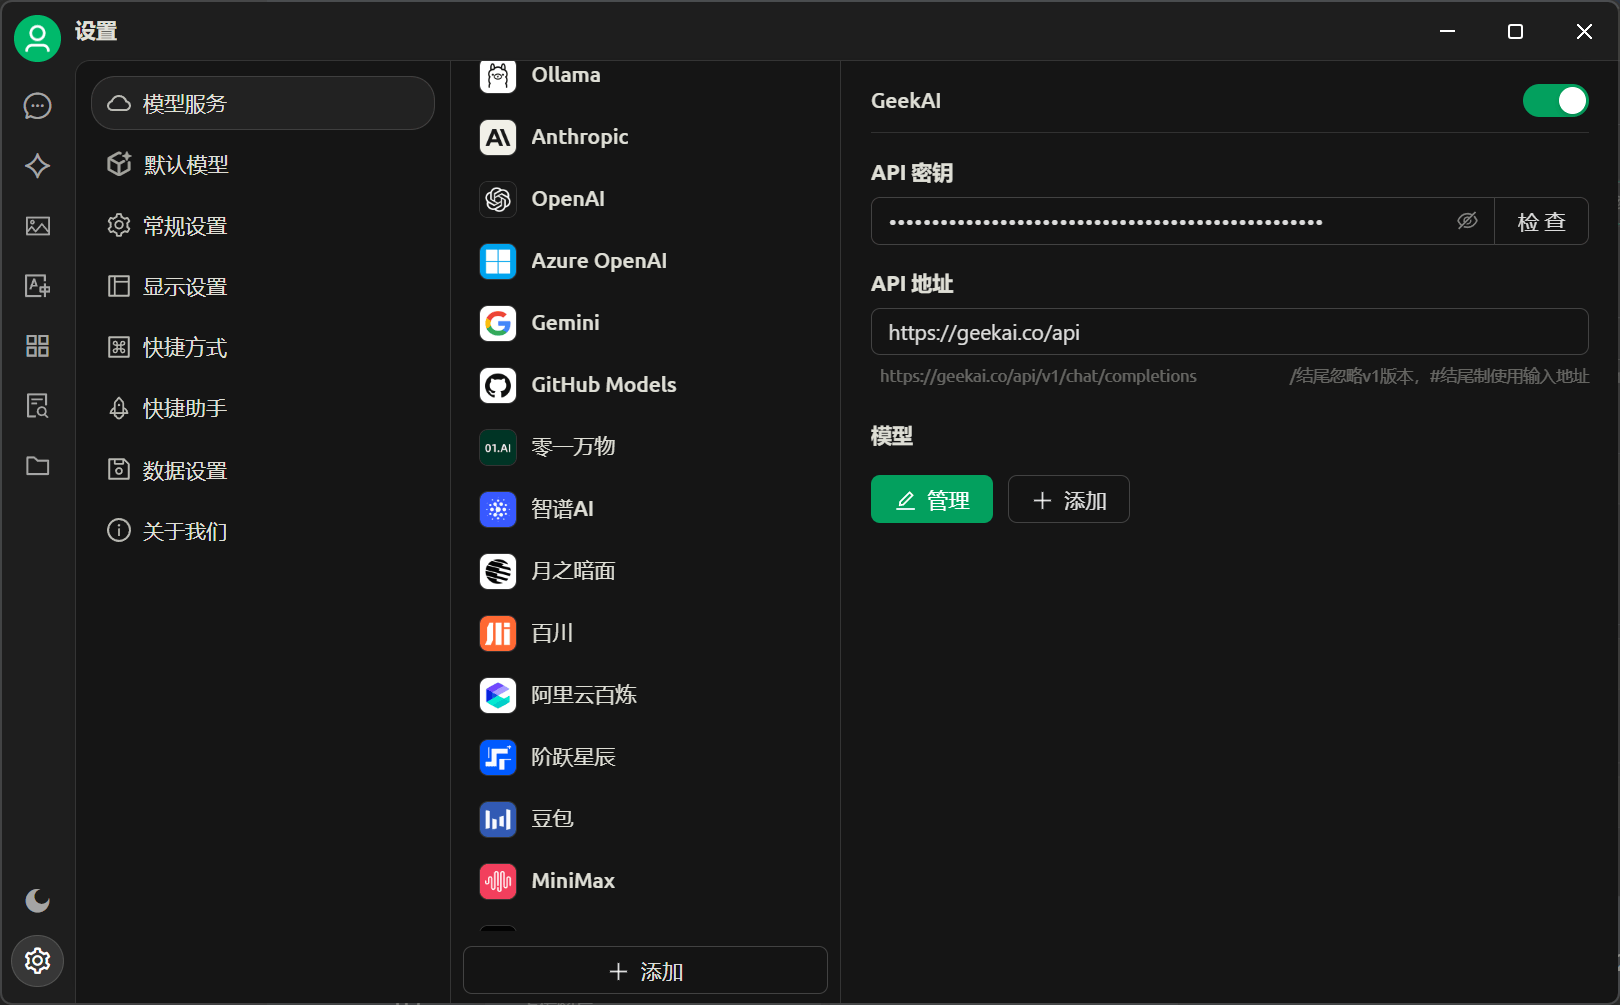
Note: Do not include a trailing ”/” after the API address. Enter https://geekai.dev/api to ensure the complete API address is https://geekai.dev/api/v1/chat/completions.
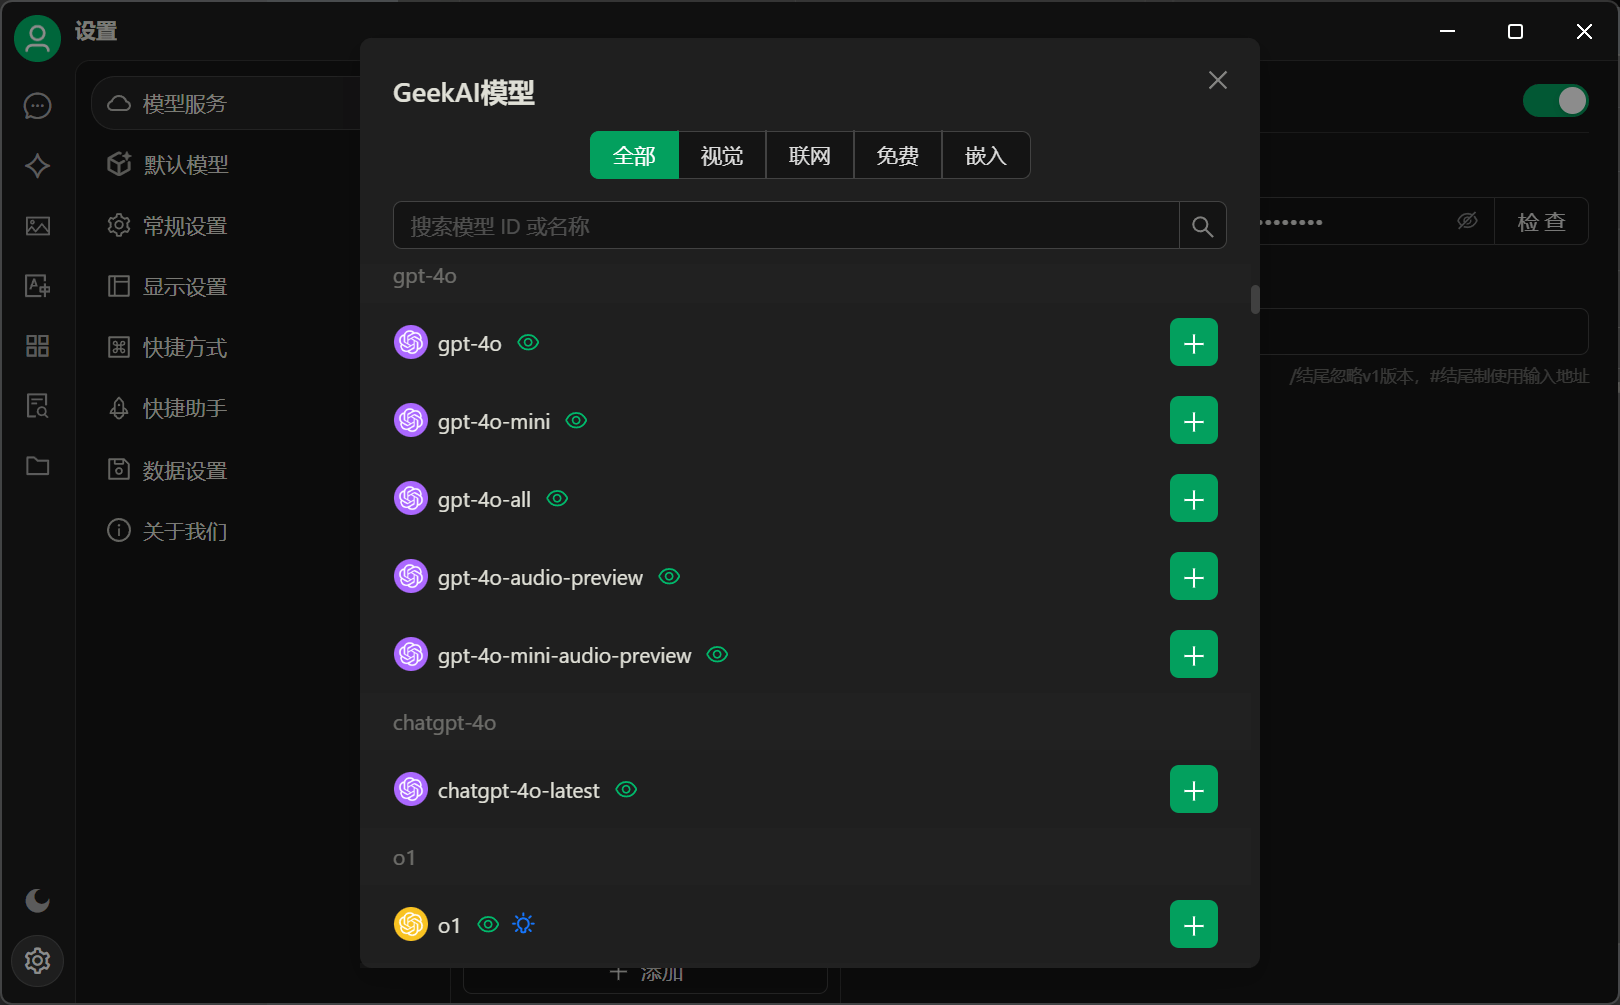 After adding the AI models, close the model management pop-up window, and you will see that the GeekAI model provider page now displays all the models you just added. Click the check button to verify the availability of any model:
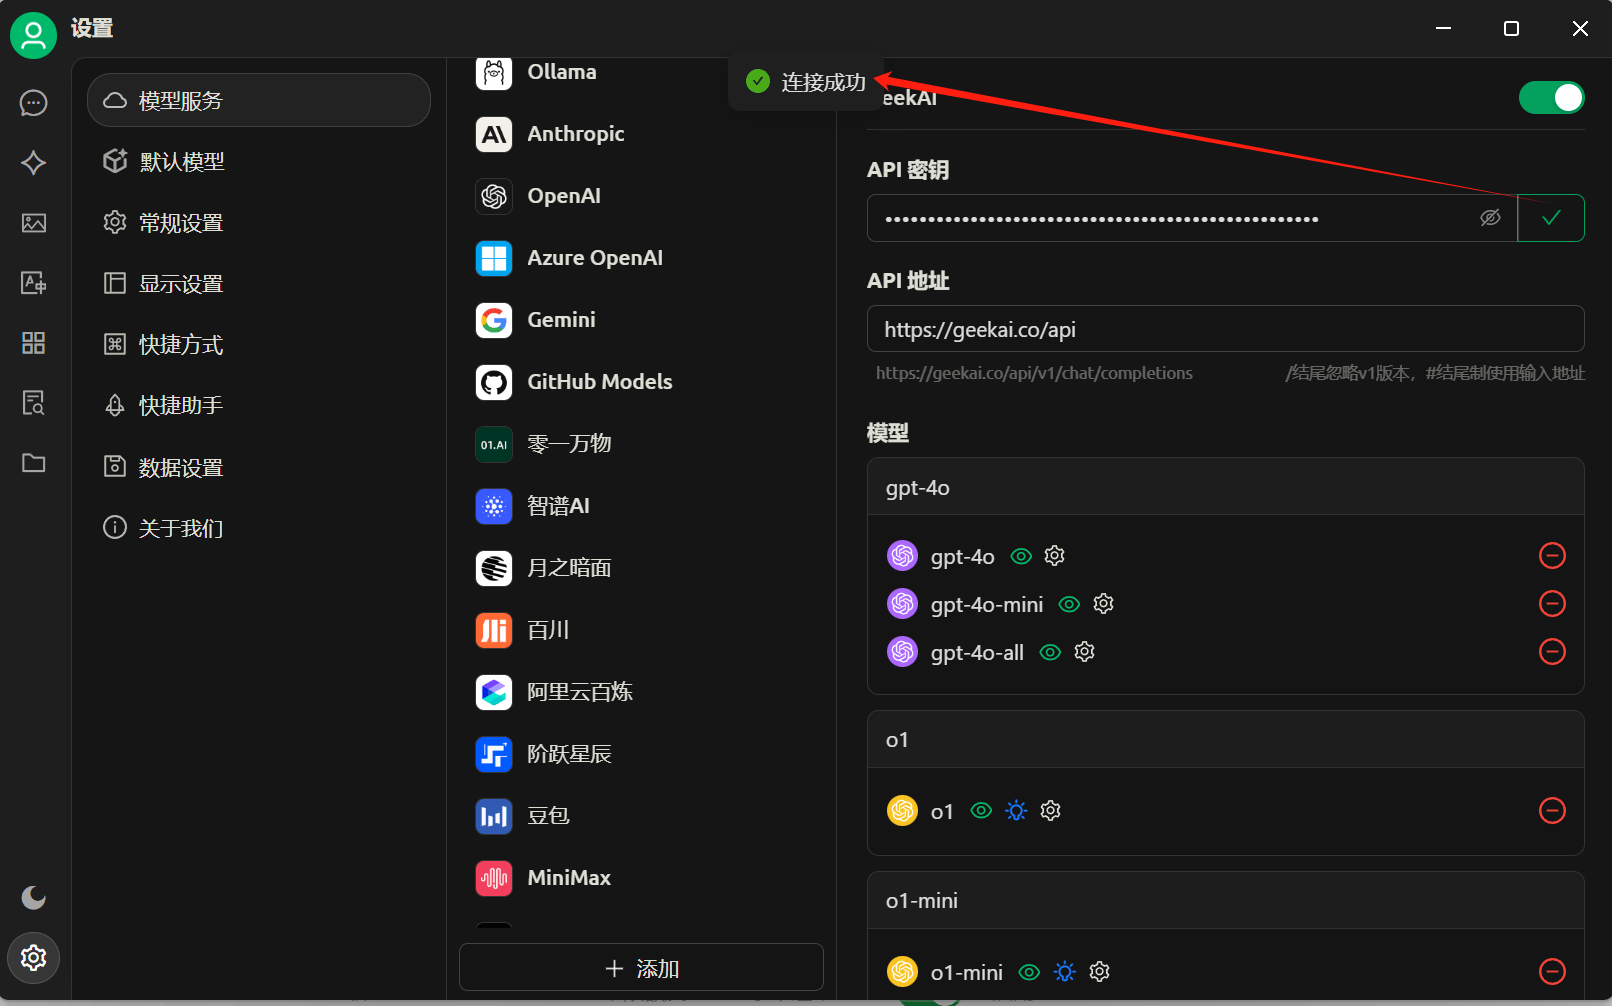 A successful connection indicates that the model is available.
Then, you can go to the default model configuration interface to configure the default models for different scenarios in Cherry Studio using the AI models provided by GeekAI:
A successful connection indicates that the model is available.
Then, you can go to the default model configuration interface to configure the default models for different scenarios in Cherry Studio using the AI models provided by GeekAI:
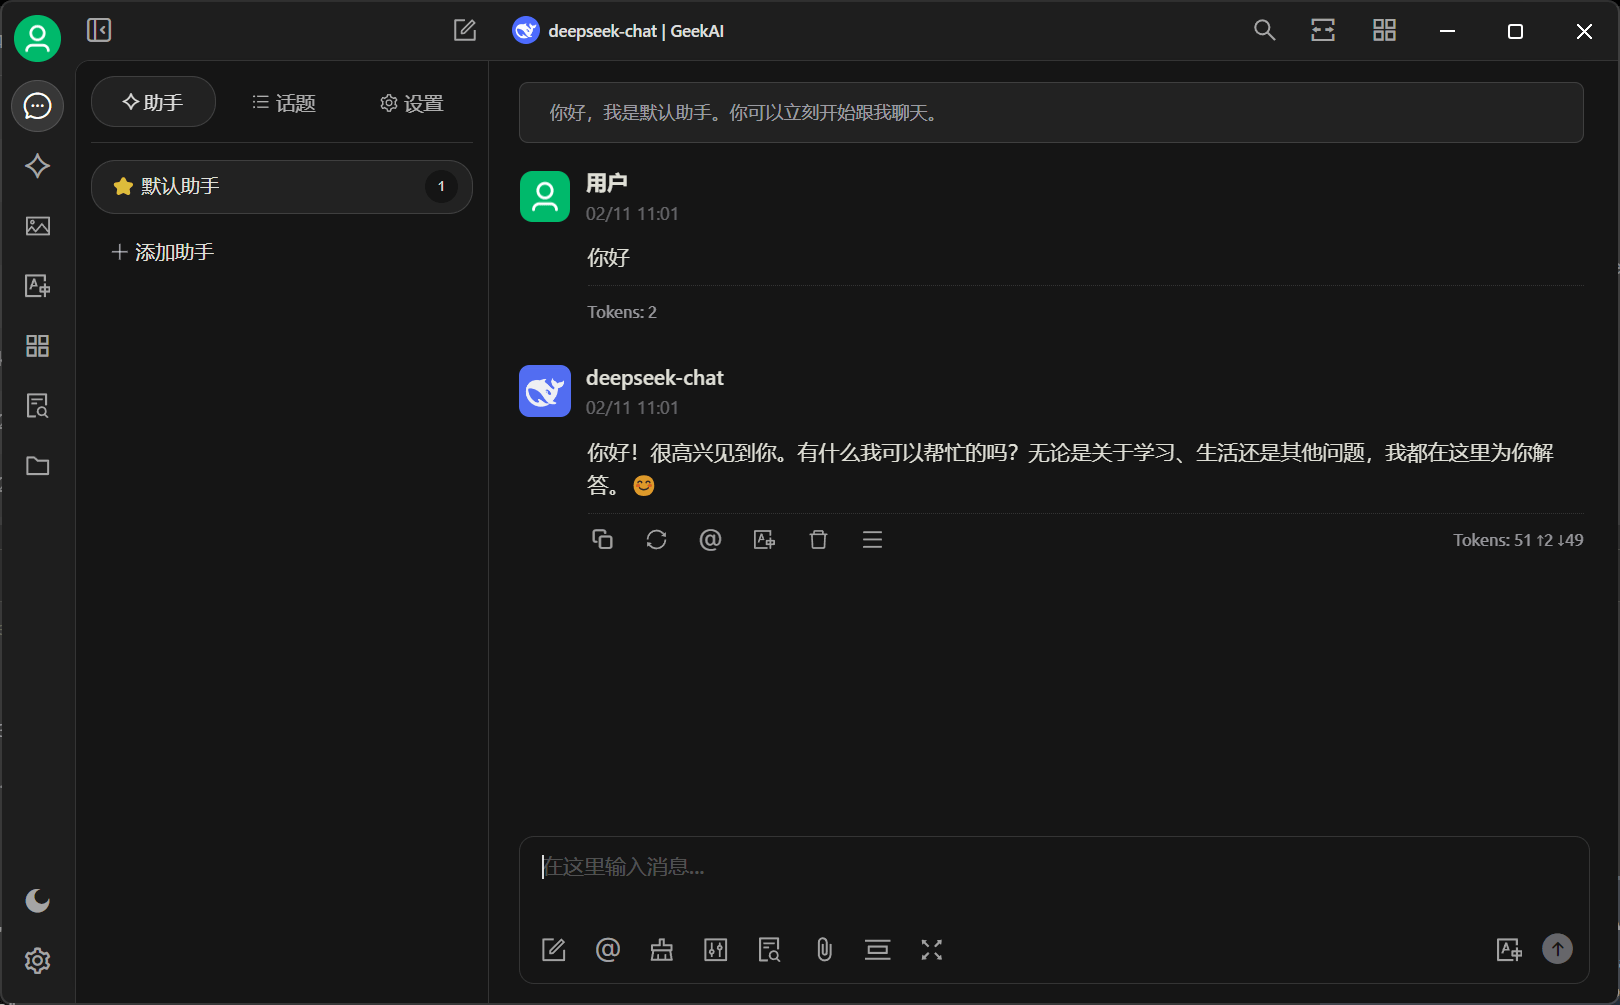
 After completing the above configuration, you can enter the Cherry Studio chat interface to converse using the AI models proxied by GeekAI:
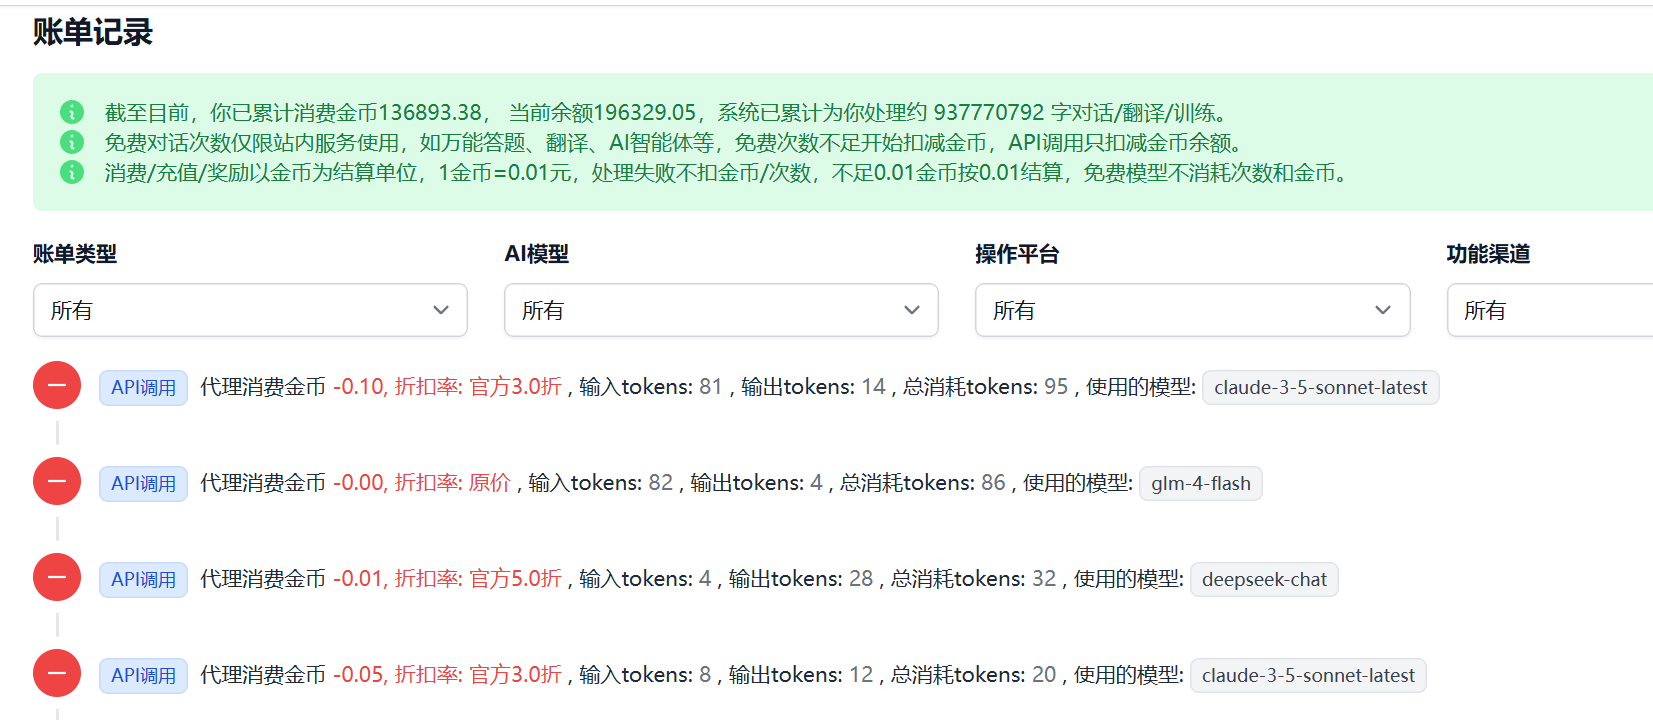
 For more information on using Cherry Studio, please refer to the official documentation. You can view the usage costs for all models on the GeekAI billing page: